Lists
The entities lists help you optimize your workflow. Whether you’re tracking orders, managing customer interactions, monitoring payments, or overseeing returns, the List view provides a centralized view for quick and efficient task management.
With the ability to customize, sort, and filter various types of lists such as Orders, Deliveries, RMAs, and more, you’ll gain the agility needed to respond to customer inquiries and resolve issues promptly. Moreover, data exporting is available, facilitating seamless reporting and handover activities.
To open a list, simply choose the desired list type on the Dashboard page.
Customize your list
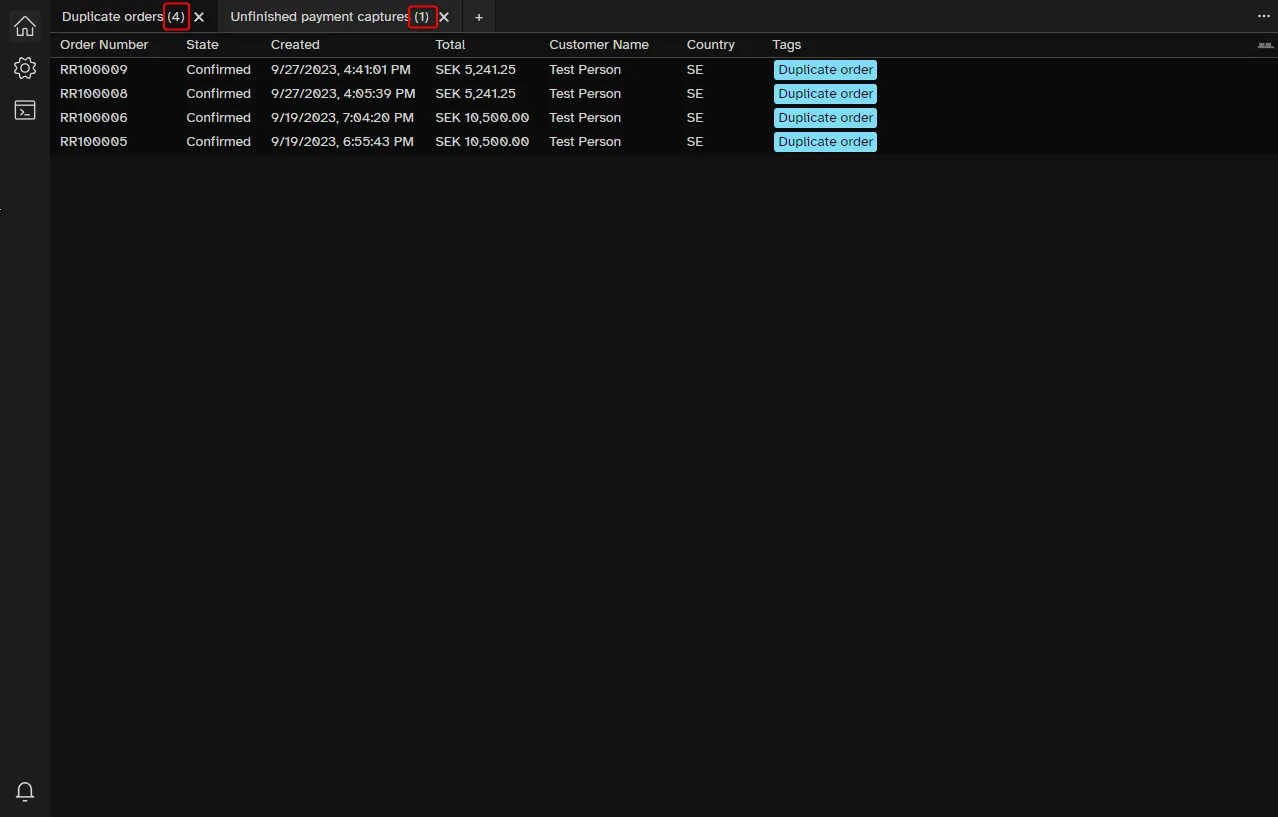
Rename the list
Name your list by following these steps:
- Right-click on the list tab.
- Select
Rename. - Give your list a name.
Set the columns
You can customize your list by adding new columns or removing existing ones.

To change the columns’ order, follow these steps:
- Start by removing all the columns from your list view.
- Once all the columns are removed, add them back one by one in the order you want them to appear.
This way, the columns will show up in the order you added them:

Sort and filter data
You can further customize your list using sorting and filtering features. The options for sorting and filtering vary for each column, based on the type of data it holds.
Have a look at the examples below:
Actions
Update the list
To update your list with the latest entities, right-click anywhere on the list and select Reload.

Export the list
You can export lists into a single and easily accessible CSV file format. Right-click anywhere on the list and select Export.
The CSV file will automatically download to your computer. Here’s what the exported list will look like:
